
Wedding Invitation Card: Paper, Printing and Design
Choose wedding invitation card paper, printing, layout and envelope fit, then check the complete suite against USPS mailing requirements.
Last updated October 2026
Contents9
- Wedding invitation card: the parts to design around
- Wedding invitation card design: decide what guests see first
- Compare invitation paper through a sample
- Digital printing, letterpress and foil
- Choose size and orientation from the finished wording
- USPS postage basics for a wedding card invitation
- Keep the card and enclosures consistent
- Approve the proof before the print run
- Verdict on choosing the invitation card
The wedding invitation card is the main piece that asks guests to attend your wedding. Choose its wording first, then a size, paper and print method that keep that wording readable. If your search is for a wedding invitation invite design, start with the card's job: names, date, time, venue and a clear request to join you.
The short answer: choose a readable invitation card with enough room for the real host line, names, date, time and venue. Compare paper and print methods through samples, and move extra travel information to a details card. Confirm envelope fit and finished postage before ordering the whole suite. A familiar size is useful only if the text and mailing plan work together.
Wedding invitation card: the parts to design around
The main card carries the invitation. It usually has a host line, request line, couple's names, date, time and ceremony location. Add a short reception line when the same guests are invited to a reception that follows.
Emily Post's invitation guide explains formal and informal structures. A simple card can keep the same details while using shorter wording. The design should make the date and venue easy to find beneath the couple's names.
For example, a long church name and two named host families need more text space than “Elena and Daniel / Join us.” Enter your actual wording into the layout before choosing the type size. Don't judge the design from a template's short sample names.
Use the wedding invitation planning guide for the full suite. Use the elements checklist to check the card's content before spending time on paper finishes.
Wedding invitation card design: decide what guests see first
Give the couple's names a clear place, then group date and location details. Use spacing to separate the request from the practical details. A guest should be able to scan the card without reading every decorative line.
Choose a body font that remains clear in print. Decorative script can work for names or a short heading, but a street address needs easy letter shapes. Check thin strokes and pale ink on a physical sample.
Keep contrast strong enough for normal room light. Pale gray text on cream paper can look attractive on a bright screen and become hard to read on the actual card. Ask someone unfamiliar with the wording to read the printed draft.
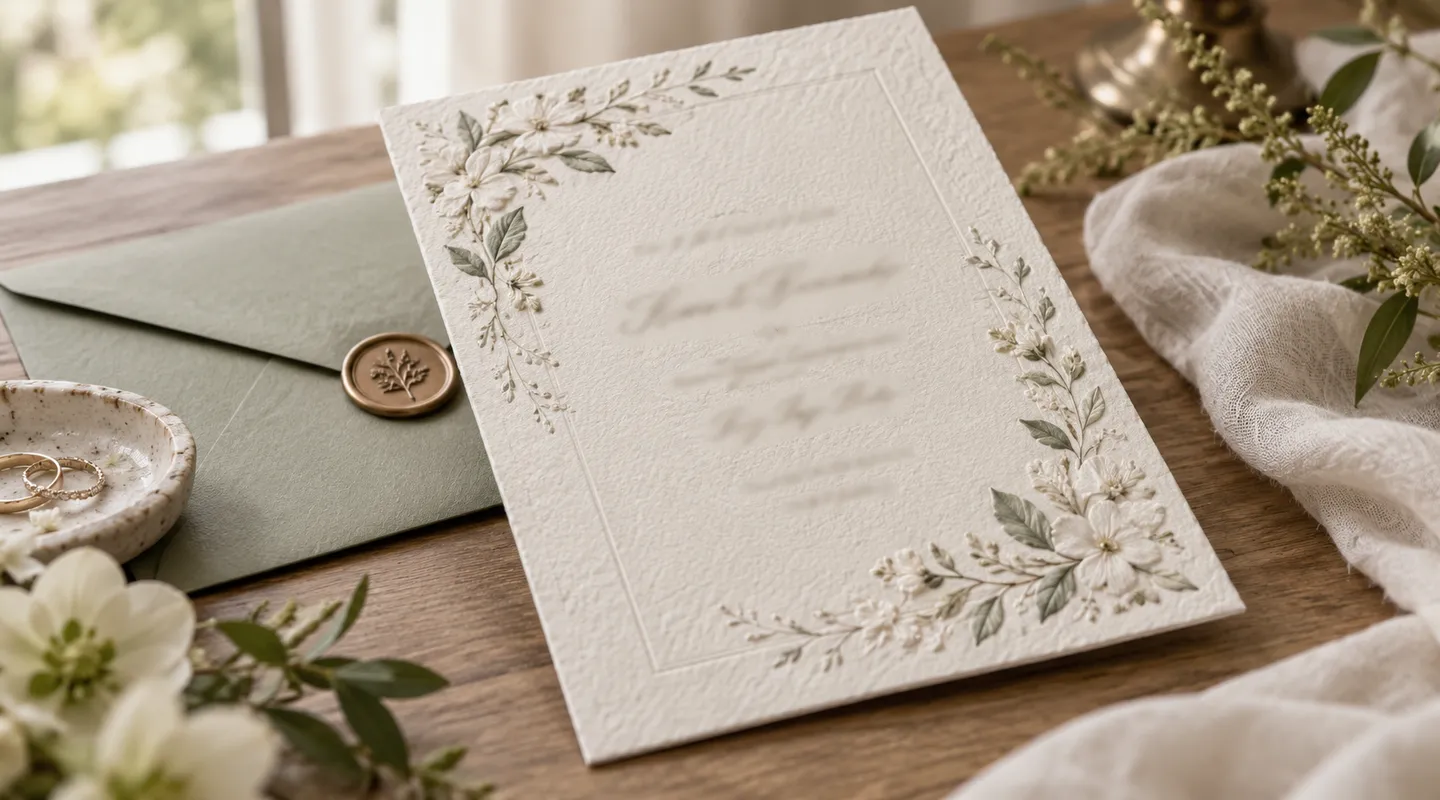
A floral border, monogram or venue illustration can set the tone. Leave enough space around it for the real text. If you must make the event details tiny to preserve the artwork, change the layout or move optional details to another card.
Compare invitation paper through a sample
Paper choice affects color, feel and how a print finish looks. Smooth stock gives a different surface from textured or cotton paper. A heavier card can feel substantial, but it also changes the finished suite's weight.
Suppliers describe their own paper options on product pages. For example, Minted's invitation page describes smooth, recycled and thicker stocks, while Shutterfly's page explains its invitation paper choices. Compare the actual sample rather than assuming similar labels mean identical paper.
Ask for the paper that matches the print method you want. A generic kit may show several stocks without showing your exact ink and finish combination. Check whether a custom sample is available when that difference matters to you.
Keep the invitation beside the response and details cards when comparing. A suite can use matching paper or a deliberate mix. Decide on that mix before placing separate orders from different printers.
Digital printing, letterpress and foil
Digital printing puts a flat printed design on the paper. Letterpress creates a pressed impression. Foil stamping applies a metallic or colored foil detail. Suppliers may use different names for particular methods, so ask how the chosen product is made.
Minted's own catalog lists digital, letterpress and foil-pressed options. Zola's invitation catalog also shows foil and letterpress designs. Those documented options can help you choose samples to compare.
Look closely at small type, fine lines and large colored areas. A pressed border and a printed floral picture solve different visual jobs. Choose the finish for the design you want, rather than assuming the most elaborate method is always the right one.
For a photo or detailed illustration, ask the printer how it will reproduce on the selected stock. For very thin metallic lettering, inspect a sample at the actual text size. The print method and typography should be chosen together.
Choose size and orientation from the finished wording
A rectangular card is a practical starting point because it gives text room and fits a familiar envelope shape. Portrait layouts suit stacked host, name and venue lines. Landscape layouts can work with shorter wording or a wider illustration.
An example 5-by-7-inch card may suit your design, but treat that as a design choice, not a postage guarantee. The envelope, inserts and any raised decoration set the final mailpiece. Check dimensions with the printer before ordering envelopes separately.
Unusual sizes can affect mailing. USPS's letter guide says envelopes must meet size and shape requirements for letter pricing. Square, rigid or unusually thick envelopes can require different handling or charges.
Print the proposed card at full size and fold a paper mockup of the envelope if needed. Check that each insert fits comfortably. A tight envelope can bend corners or make assembly slow even when the main card itself fits.
USPS postage basics for a wedding card invitation
USPS lists the standard letter envelope limits as no more than 6⅛ inches high by 11½ inches long. A standard letter can be no more than ¼ inch thick. Check the current USPS instructions for the full requirements before mailing.
The finished weight matters too. Add every card, the inner envelope if used, the reply envelope and any decoration to the sample. A wax seal or rigid backing can affect how the envelope passes through mail equipment.
Take the assembled sample to a post office. Ask for the correct postage and whether the mailpiece is machinable. Ask about hand-canceling if you want it; don't assume that it replaces postage requirements or guarantees how the envelope travels later.
If some households receive a rehearsal dinner insert, check that heavier version separately. Emily Post's mailing guidance specifically recommends weighing different versions when inserts vary.
Keep the card and enclosures consistent
Use the same couple names and event date throughout the suite. The name-order guide can help you settle the order before designing. Copy from one approved text document rather than typing each card from memory.
Move accommodation, transport and longer dress guidance to a details card. Give replies their own clear instruction or response card. The main invitation should remain the front door to the event.
A suite can coordinate through one color, font or border without making every piece identical. For example, a floral main card can pair with a plain details card using the same heading font. That makes longer instructions easier to read.
Approve the proof before the print run
Check the proof in two passes. First read only the facts: names, weekday, date, year, time, venue, address and reply route. Then inspect the layout: font size, spacing, margins, line breaks and artwork.
Have another person check the facts against your booking documents. A printer can check that the supplied text fits the design, but can't know whether you booked the ceremony for two or four o'clock. The couple and hosts must approve those details.
Keep a copy of the final approved proof. Check the quantity by mailing household, plus whatever spare and keepsake cards you choose. Use the companies guide to compare print and sample routes.
For the next invitation decision, see Wedding Invitation Message Sample: 14 Wording Ideas.
Verdict on choosing the invitation card
A wedding invitation invite design should make the request and event details easy to read. Start with the real text, compare paper and print samples, and test the complete envelope before ordering. The right card is the one that looks like your wedding and works for your guests.
Questions people also ask
What is the main wedding invitation card for?
It asks guests to attend and gives the couple, date, ceremony time and venue. A short reception line can fit too. Extra travel and reply information can go on other cards, so the main invitation remains easy to scan.
How do I choose wedding invitation card design?
Enter the real wording before choosing the final layout. Check the longest names and venue line at actual print size. Choose readable body type and enough contrast, then compare a physical sample of the paper and finish you plan to order.
Does a 5-by-7 invitation need standard postage?
The finished envelope determines postage, including inserts, weight, thickness and any raised decoration. A familiar card size does not establish the mailing category. Take an assembled sample to the post office and follow current USPS requirements before buying all the stamps.
What is the difference between letterpress and foil?
Letterpress makes a pressed impression in the paper. Foil stamping applies a metallic or colored foil detail. Ask the supplier how its selected product is made, and compare actual samples with the small text and artwork you want to use.